 |
Last week's tip covered how to make just one seam lie flat. Today, I'll go over how to do this for your entire quilt.
Most quilt books will tell you to sew a row of your blocks together and press to one way, i.e. all to the right. Then, you are to press your next row of blocks the other way, i.e. all to the left. I'm here to tell you this isn't the best way to do it.
Once I learned how to spiral my seams open for flat intersecting seams, I wanted to be able to do this will ALL my seams. It took me a while to figure out how to do this for an entire quilt or block.
- STEP 1 - ASSEMBLE YOUR ROWS
Sew all your rows together.
 |
- STEP 2 - PRESS BLOCKS IN ALTERNATING DIRECTIONS
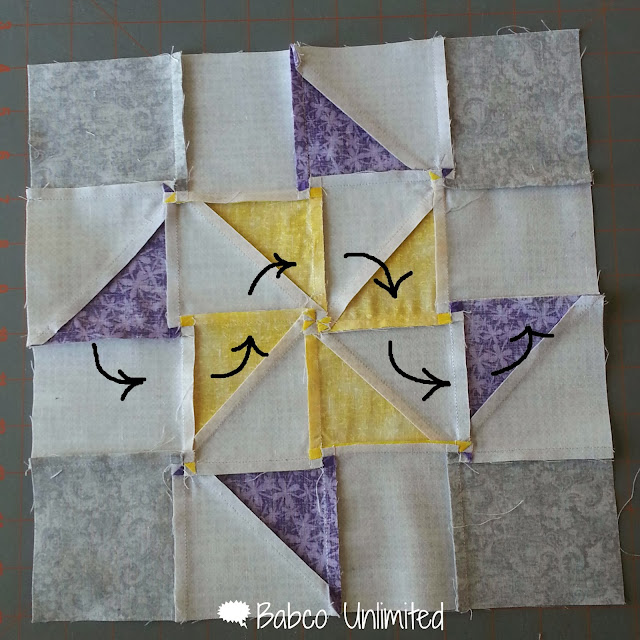
Instead of pressing all to one direction, you are going to alternate directions you press your seams.
In this example, you can see the arrows pointing the direction I pressed the seams.
 |
Take note how the rows also alternate directions. This allows my seams to nest together when I sew my rows together.
- STEP 3 - SEW YOUR ROWS TOGETHER
Nest your seams together and sew your rows together.
 |
- STEP 4 - SPIRAL YOUR SEAMS OPEN
Use the steps of last week's tip to spiral all your seams all open.
 |
Because we already pressed the seams in the rows to opposite directions, you will have an idea of how things should be pressed. You can almost make a path with your seams.
Here are a few examples of what you will do with your seams.
 |
This will determine which way you will press the remaining seams.
 |
You will have continuous spirals going on.
- STEP 5 - SIT BACK AND ADMIRE
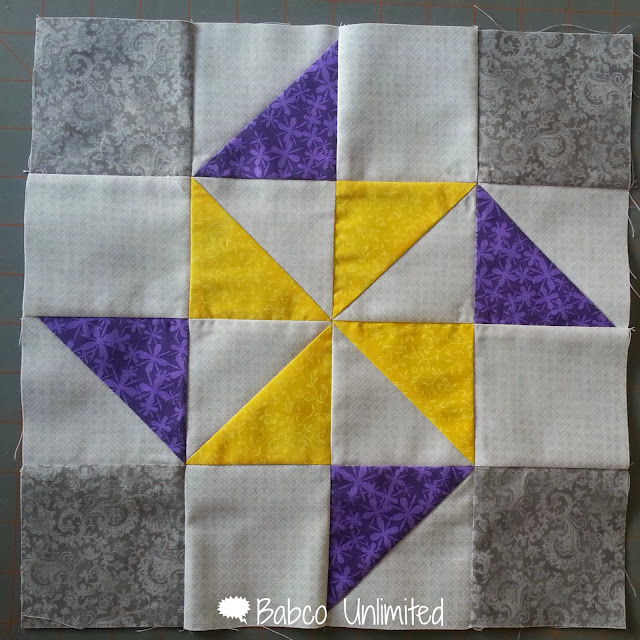
Once you've starched and ironed, you need to admire your work.
Look how flat that is!
 |
Give it a try--you will be AMAZED at the difference it makes.

No comments:
Post a Comment