 |
I had no idea I was doing my seams ALL wrong. I was following the directions in all the Quilt Books, which instructed me to just press the seams all one way and then all the other way. When another quilter let me in on this trick, I was flabbergasted. What? The quilt books are wrong? Yes, yes they are.
Just look at the difference! This is actually the exact same block, just pressed differently.
 |
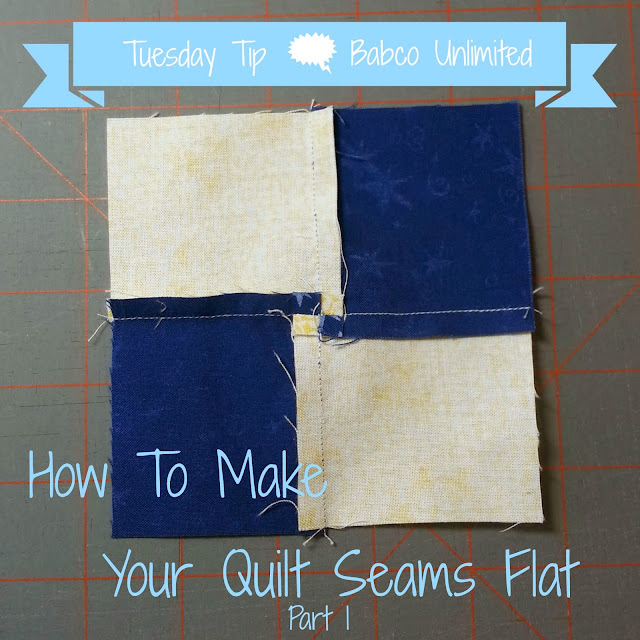
So how does one accomplish this amazing feat? I'm glad you asked. I made a simple 4-patch to illustrate how this is done.
- STEP 1 - UNPICK YOUR STITCHES IN THE SEAM ALLOWANCE
At the intersecting seam, you want to unpick those 4-5 stitches past the seam allowance. You aren't unpicking stitches holding the blocks together--you are unpicking those "extra" stitches you stitched over.
 |
 |
- STEP 2 - SPIRAL YOUR SEAM OPEN
Because you nested your seams while sewing your 4-patch, two seams are already going opposite directions. In my picture, you can see how the yellow seams are going opposite directions--that is because before sewing the 4-patch I had pressed those seams so I could nest them together to match the seam.
 |
Next, you are going make the other 2 seams go opposite directions as well. The easiest way to do this is to spiral the seams. See the arrows? They are going in a circle following the direction already set by the yellow seams.
 |
Because we are spiraling the seam, we now know which way the blue seams need to go. You can also stick your finger inside all those seams and move your finger in the spiral motion, helping those seams open. And LOOK! The middle seam is starting to open up. This is when you yell "Wa-Hoo!"
 |
You know you have it correct when you see the opposite pattern in the open seam. Can you see the mini 4-patch in that open seam? That's what you're looking for.
 |
- STEP 3 - ADD A LITTLE STARCH (OPTIONAL)
This step isn't absolutely necessary, but I find it very helpful. I spritz a spray of starch (my fav is Best Press) to keep the seam open and in place.
 |
- STEP 4 - IRON
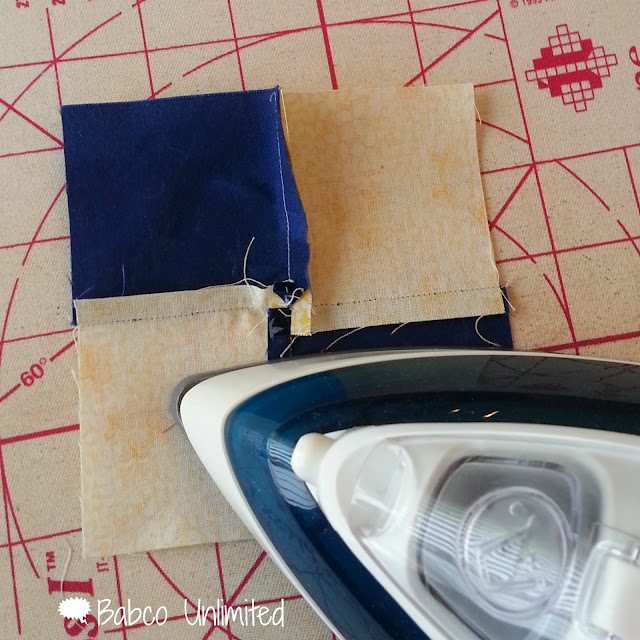
Next, you need to iron the seams in the spiral direction you predetermined. I iron the seams on the back side of the block, then I press the center intersecting seam using the starch to press it flat.
 |
I then press the front side of the block.
- STEP 5 - STEP BACK AND ADMIRE
Yes--this is an important step. What fun is it if you can't admire your own work?
 |
Give it a try! I wasn't convinced until I tried it myself and could see and feel the difference. So much of quilting is texture and touch. We have to feel it.
Have you tried this? Do you like it? What other steps have you taken to make your seams lie flat?
Next week, I'll talk you through how to do this for an entire project in Part 2.
Linked up to Stitch by Stitch here.

No comments:
Post a Comment